Are you looking to upgrade your website’s analytics and tap into the powerful features of Google Analytics 4 setup?
Then worry not and buckle up and read this blog.
Do you know holding over 43% of the market, Google Analytics will continue to dominate the web analytics software sector in 2024?
It means GA4 implementation on your website will surely benefit you and your business.
This blog will help you add GA4 to the website. With GA4’s enhanced measurement capabilities, machine learning insights, and user-centric data approach, you’ll gain deeper insights into user behavior website navigation, and performance.
{{cta(‘147015123633′,’justifycenter’)}}
Get in touch to learn about Analytico’s Digital Analytics Audit services or GA4 audit services.
Why Consider GA4?
GA4 is a free and powerful analytics tool that offers comprehensive insights into how users interact with your website and app.
1. Benefits for Website or App:
- Current Apps:
If you have an app or are developing one, Google Analytics 4 is necessary because it uses the Firebase SDK, which integrates with GA4.
- Future-Proofing:
Even if you don’t have an app now, it’s still wise to start using GA4 to prepare for the future. This way, you can accumulate historical data in GA4 and avoid a scramble when Universal Analytics (UA) is eventually retired.
2. Dual Tagging:
- What It Is:
Dual tagging means setting up both a GA4 property and a UA property for your website. This lets you collect data in both systems simultaneously.
- Why It’s Important:
By doing this now, you build a history of data in GA4, which will help when transitioning from UA. You also get used to GA4’s reports and features before you need to rely on them fully.
- How It Works:
For every existing UA tag you have in Google Tag Manager (GTM), you need to create a corresponding GA4 tag. This process ensures data is sent to both UA and GA4 properties.
Why Add a GA4 Code for the Website?
GA4 code for the website is important for several reasons:
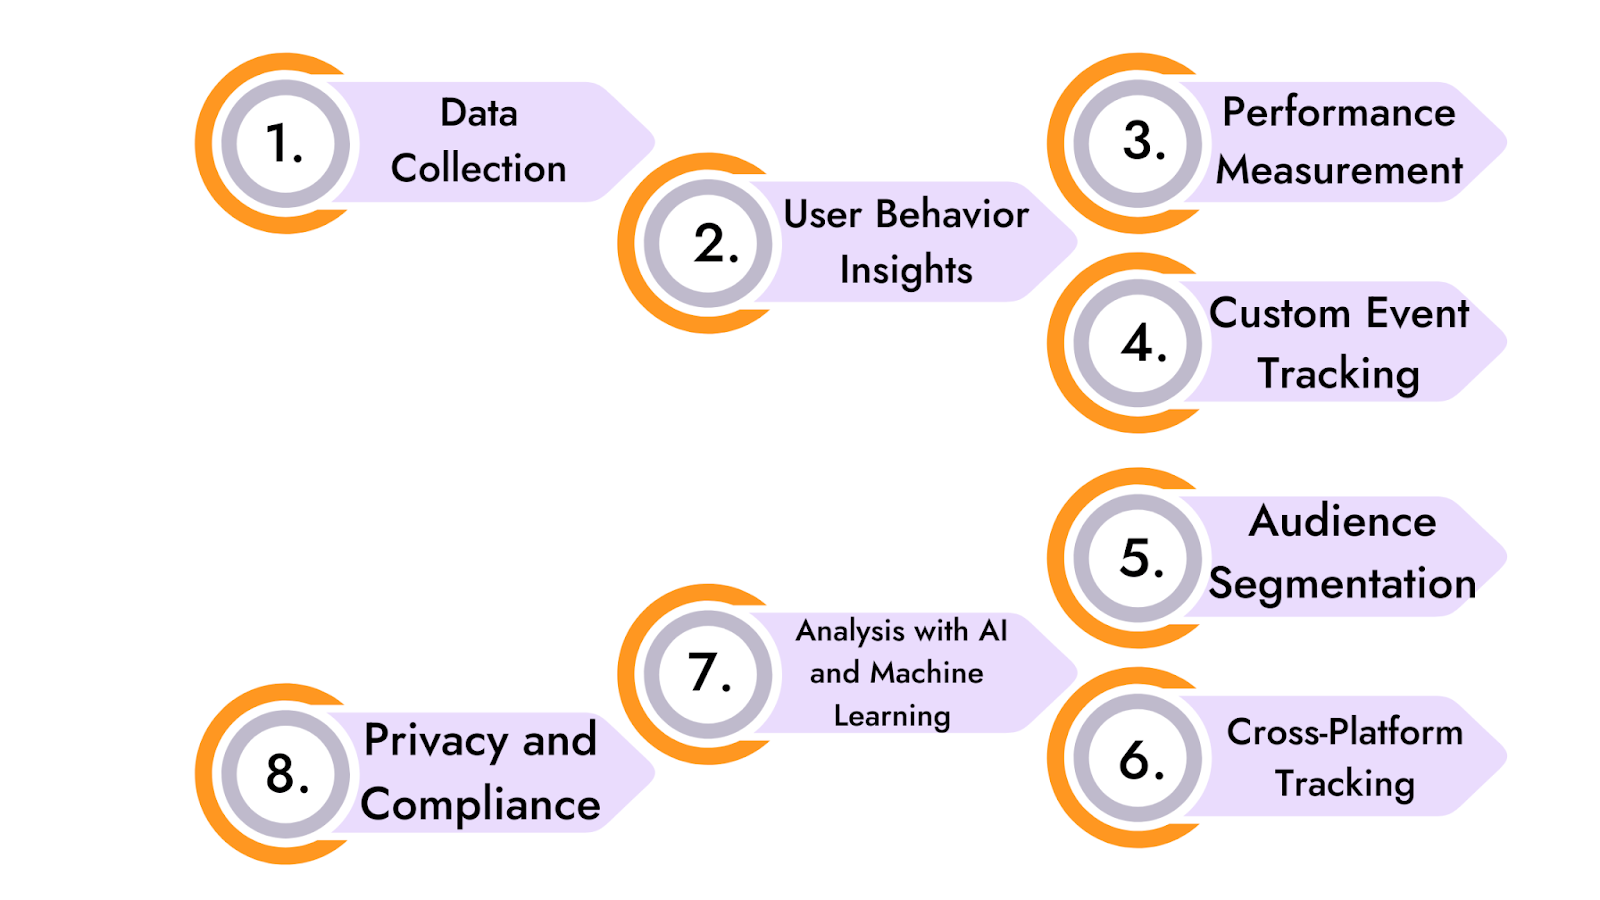
1. Data Collection:
The tracking code collects data about user interactions on your website. This includes page views, clicks, scrolls, and other events. Without the tracking code, GA4 cannot gather this data.
2. User Behavior Insights:
With the data collected by the GA4 code, you can gain insights into how users interact with your website. This information is valuable for understanding user behavior, identifying popular content, and determining which areas of your site may need improvement.
Read more about how GA4 analyzes behavior flow here:
https://www.analyticodigital.com/blog/find-and-analyze-behavior-flow-report-in-ga4
3. Performance Measurement:
The tracking code allows you to measure key performance indicators (KPIs) such as conversion rates, bounce rates, and session duration. These metrics are essential for evaluating the effectiveness of your marketing campaigns and overall website performance.
4. Custom Event Tracking:
GA4 allows for flexible event tracking. By adding the GA4 embed code, you can set up custom events to track specific actions that are important to your business, such as form submissions, video plays, or e-commerce transactions.
5. Audience Segmentation:
The GA4 embed code helps audiences and their segments based on user behavior. These segments can be used for personalized marketing efforts and retargeting campaigns.
6. Cross-Platform Tracking:
GA4 is designed to track user interactions across multiple platforms, including web and mobile apps. By implementing the tracking code, you can have a unified view of user behavior across different devices and platforms.
7. Enhanced Analysis with AI and Machine Learning:
GA4 leverages machine learning to provide predictive insights and automated alerts. The tracking code enables these advanced features by ensuring a continuous stream of data for analysis.
8. Privacy and Compliance:
GA4 includes features to help you comply with privacy regulations such as GDPR and CCPA. GA4 implementation correctly ensures that you can manage user consent and data retention policies effectively.
Ways to Add GA4 to the Website
There are two primary methods to add GA4 code for a website:
- Using Google Tag Manager (GTM):
- Manual installation / Using the Global Site Tag (gtag.js)
How to Add GA4 to a Website?
Several steps are involved to add GA4 code for a website, and I’ll guide you through the process comprehensively.
Using Google Tag Manager
We’ll be using Google Tag Manager (GTM) for this integration, as it provides a flexible and efficient way to manage your GA4 embed codes.
Here are the detailed steps:
Step 1: Create GA4 Property
Go to Google Analytics and sign in with your Google account.
Click on the Admin gear icon at the bottom left. In the Property column, click on the + Create Property button.
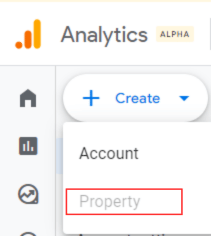
Enter a name for the property, select the reporting time zone and currency, then click Next. Enter your business information and click Create to set up GA4.
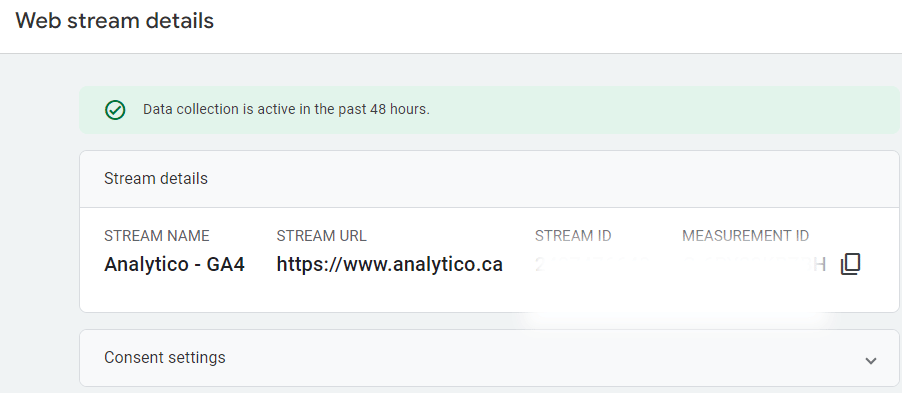
Step 2: Set Up Data Stream
After creating the property, click on Data Streams under the Property column. Select your platform (Web, iOS, Android).
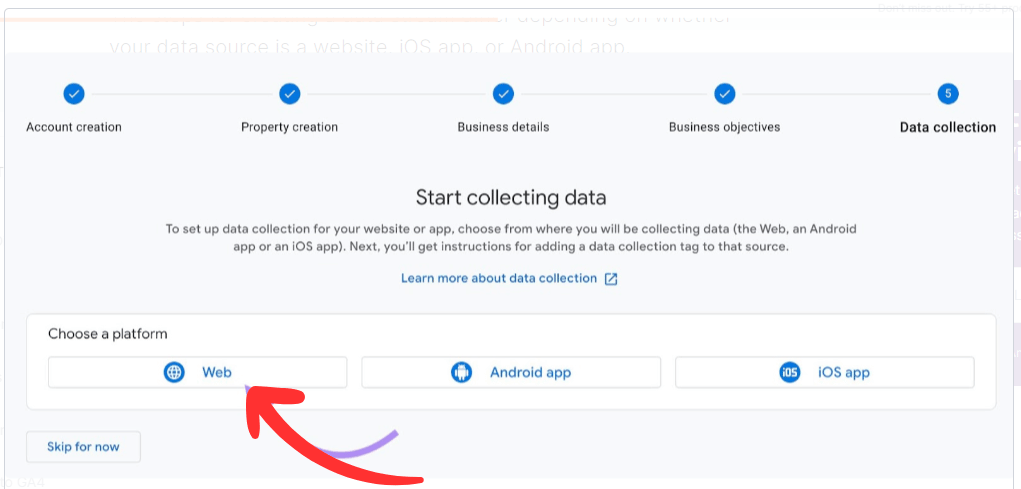
For the web, enter your website URL and stream name, then click Create Stream.
You will receive a Measurement ID (looks like G-XXXXXXXXXX). Note this ID for later use.
Step 3: Set Up Google Tag Manager
Now go to Google Tag Manager and sign in with your Google account.
Click Create Account, and enter your account name and container name (usually your website name).
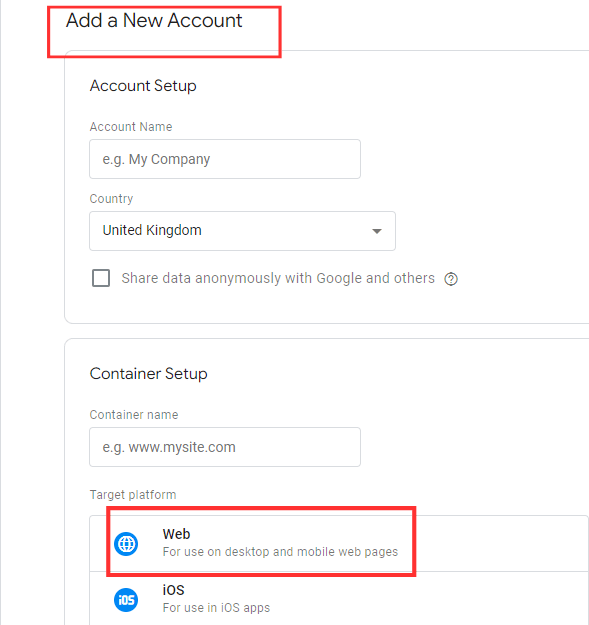
Select Web as the target platform and click Create.
Agree to the terms of service and click Yes to continue.
Step 4: Add GA4 Configuration Tag in GTM
After creating the container, you’ll be taken to the GTM dashboard.
- Create a New Tag:
Click on Tags in the left-hand menu.
Click the New button to create a new tag.
Click on Tag Configuration and select Google Analytics: GA4 Configuration.
- Configure the Tag:
Enter your GA4 Measurement ID that you noted earlier.
Configure additional settings if necessary, such as enabling enhanced measurement.
- Set Up a Trigger:
Click on Triggering and select All Pages to fire the tag on all pages of your website.
Click Add to save the trigger.
Step 5: Publish Your GTM Container
Click Save to save your new tag configuration.
Click on the Submit button at the top right of the GTM dashboard.
Enter a version name and description for your changes.
Click Publish to apply the changes.
Step 6: Verify the Implementation
- Use Google Tag Assistant:
Install the Google Tag Assistant browser extension.
Enable the extension and visit your website to check if the GA4 tag is firing correctly.
- Check-in Google Analytics:
Go to your GA4 property in Google Analytics.
Click on Realtime in the left-hand menu to see if data is being recorded in real-time as you navigate your website.
|
Optional: Enhanced Measurement Settings
|
Manual Installation / Using Google Site Tag (gtag.js)
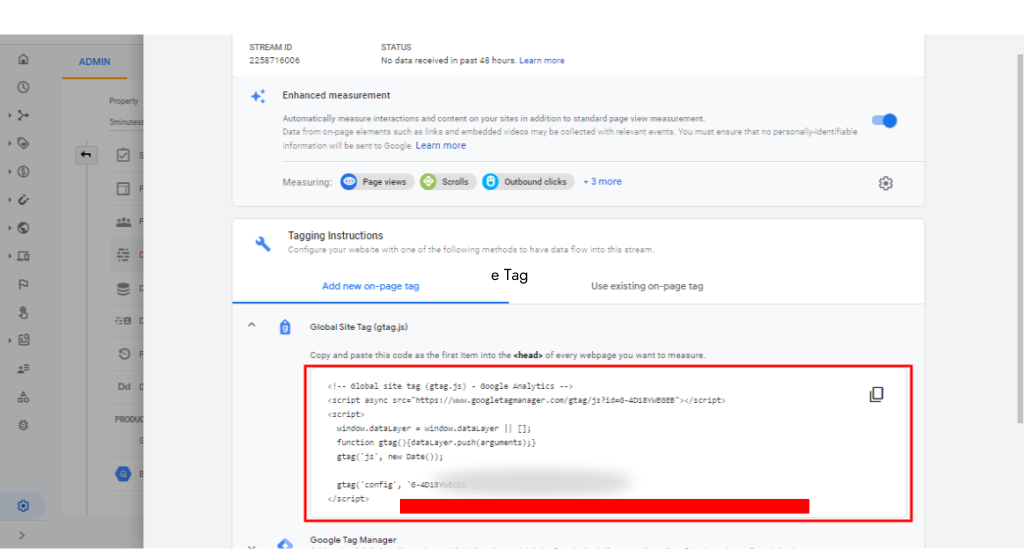
Step 1: Get the Tracking Code:
Similar to the manual method, sign in to Google Analytics, go to the Admin section, and select your GA4 property.
Click on Data Streams under the Property column and select your web data stream.
Copy the Global Site Tag (gtag.js) code provided.
Step 2: Add the GA4 Code to Your Website
Paste the gtag.js code into the <head> section of every page you want to track, similar to the manual method.
After pasting, GA4 will start tracking your website.
Choosing the Right Method
- Google Tag Manager:
Recommended for most users due to its flexibility and ease of managing multiple tags and tracking codes without modifying the website code.
- Global Site Tag (gtag.js):
Useful for users who prefer a straightforward script and do not need the advanced features of GTM.
Troubleshooting Tips
- Ensure GTM Snippet is Installed:
Make sure the GTM container snippet is installed correctly on your website. You can find the snippet in GTM under Admin > Install Google Tag Manager.
- Check Browser Console for Errors:
Look for any errors in your browser console that might indicate issues with the GA4 or GTM implementation.
- Test in Incognito Mode:
Sometimes browser extensions or cached data can interfere with testing, so use incognito mode for a clean test environment.
Conclusion
Implementing GA4 code on your website is a crucial step towards gaining comprehensive insights into user behavior and website performance.
Whether you choose to use Google Tag Manager for its flexibility and ease of management or opt for the straightforward Global Site Tag (gtag.js) method, integrating GA4 will equip you with advanced measurement capabilities, machine learning insights, and a user-centric data approach.
By following this step-by-step guide, you can confidently set up GA4 tracking on your website and begin to leverage its powerful features.
Remember to verify your implementation to ensure accurate data collection, and consider enhanced measurement settings to track specific user interactions.
If you need further assistance or want to ensure your GA4 setup is optimized, consider reaching out to Analytico for a Digital Analytics Audit or GA4 audit services.
With GA4, you’ll be well-equipped to understand and enhance user experiences, ultimately driving better business outcomes.
Happy tracking!
Do you like what you read? Learn more about Digital Analytics on our blog here.


