Google Analytics 4 (GA4) has transformed how businesses collect and analyze web data, providing a more comprehensive view of user interactions. Exporting data from GA4 is crucial for in-depth analysis, reporting, and sharing insights with stakeholders.
This blog will guide you through the various methods to export data from GA4, each with its unique features and use cases.
1. Using the GA4 Interface
Google Analytics 4 (GA4) provides a user-friendly interface for exporting data, making it easy for users to retrieve and utilize their analytics information for various purposes.
Whether you need to share data with stakeholders, perform offline analysis, or simply back up your data, the GA4 interface offers several straightforward methods for exporting. Here’s a detailed guide on how to export data directly from the GA4 interface.
- Accessing Your Reports
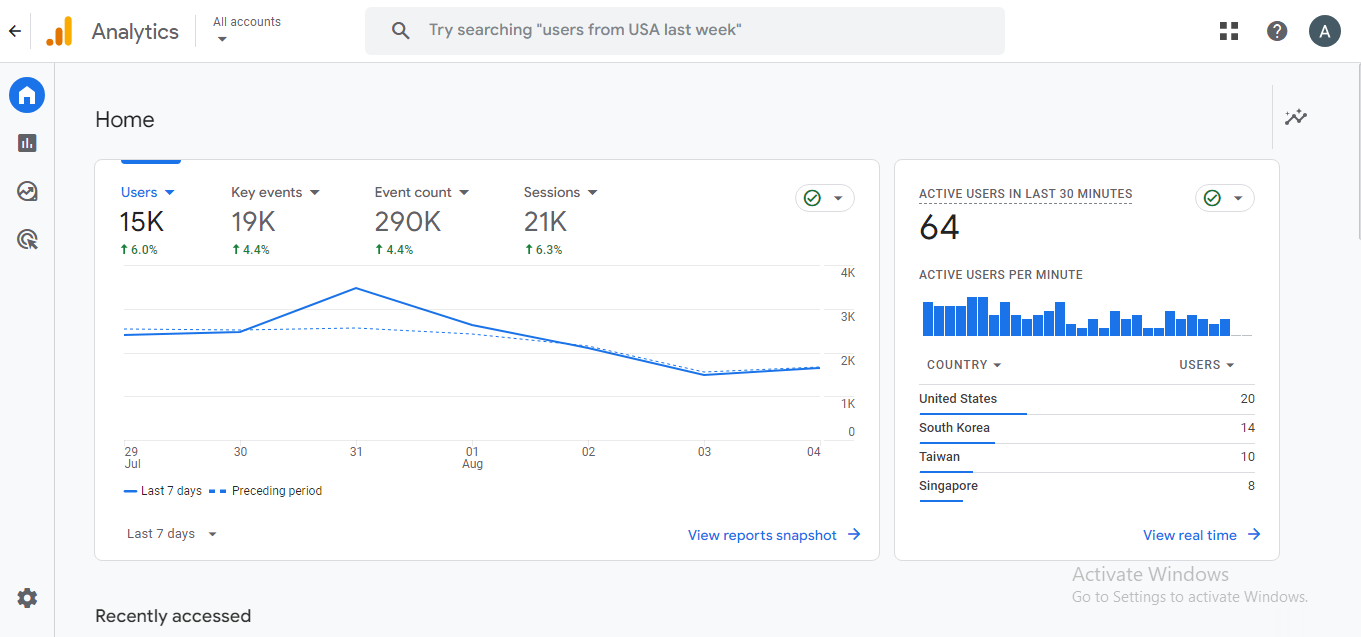
To begin exporting data, you first need to navigate to the desired report within the GA4 interface.
- Log in to GA4: Open your browser and go to the Google Analytics homepage. Log in using your Google account credentials.
- Select Your Property: From the Analytics homepage, choose the GA4 property from which you want to export data. Ensure you’re viewing the correct property by checking the property name at the top of the sidebar.
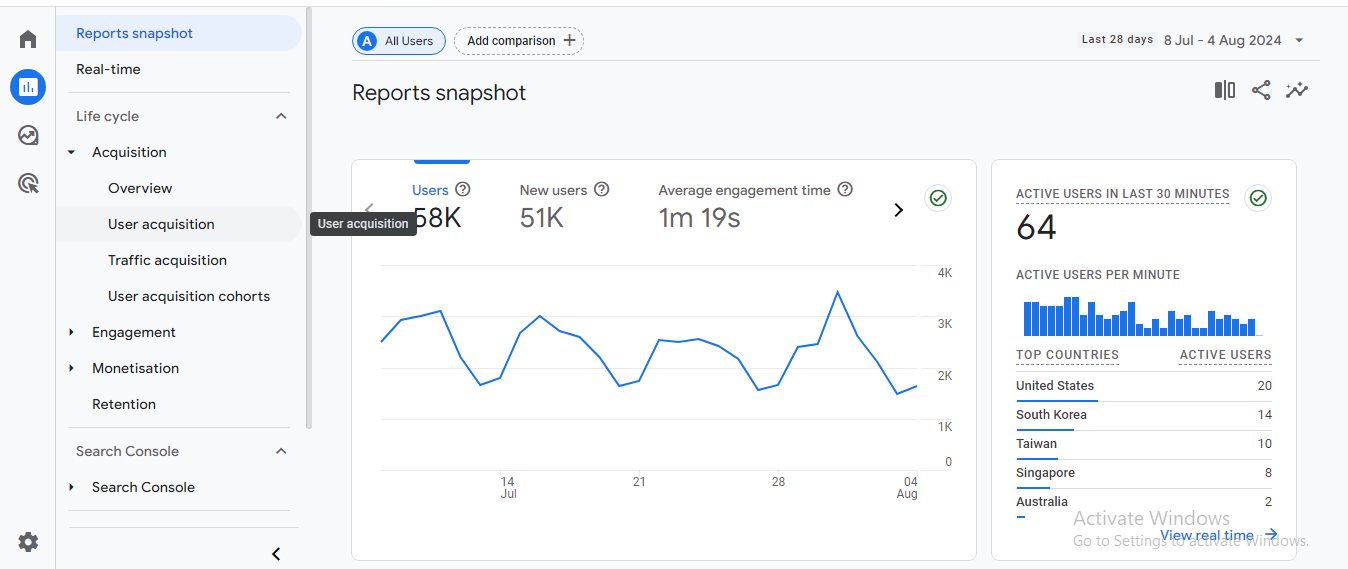
- Go to Reports: Navigate to the “Reports” section in the left-hand menu. This section contains various predefined reports such as “Real-time,” “Acquisition,” “Engagement,” and “Monetization.”
- Exporting Data in Different Formats
Export to CSV or Excel
- Choose a Report: Select the specific report you wish to export. For example, if you want to export user acquisition data, go to the “Acquisition” report.
- Customize Your Report: Before exporting, you might want to adjust the date range, apply filters, or segment your data to match your requirements. Use the controls at the top of the report to make these adjustments.
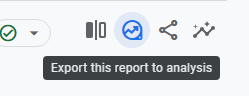
- Click on the Export Icon: Locate the export icon, which looks like a downward-facing arrow or a download symbol. This icon is usually found at the top right corner of the report window.
- Select Export Format: Click the export icon and choose either “CSV” or “Excel” from the drop-down menu. The CSV format is generally more versatile for importing into various data analysis tools, while Excel files are often preferred for their native spreadsheet functionalities.
- Download the File: Once selected, the file will be prepared, and you will be prompted to download it. Save the file to your computer for further use.
{{cta(‘147015123633′,’justifycenter’)}}
Get in touch to learn about Analytico’s Digital Analytics Audit services or GA4 audit services.
Export to PDF
- Navigate to the Desired Report: Access the report you need to export.
- Click on the Share Icon: Next to the export icon, you’ll find the share icon, which looks like a paper airplane or a sharing symbol.
- Select PDF Option: Click on the share icon and choose “PDF” from the available options. This will prepare a PDF version of the report.
- Download the PDF: The PDF report will be generated and made available for download. Save it to your device for sharing or printing purposes.
- Customizing and Filtering Data Before Export
To ensure you export only the most relevant data, utilize GA4’s customization and filtering options:
Adjusting Date Range
- Click on the Date Range Selector: This is typically located at the top-right corner of the report window.
- Choose Your Dates: Select the start and end dates for the data you want to export. This ensures that your export only includes data from the specified time frame.
Applying Filters
- Use the Filter Options: Depending on the report, you may have filter options available (e.g., by source/medium, device category).
- Apply Filters: Choose the relevant filters to narrow down the data. For instance, you might want to export data only for a specific traffic source or user segment.
Customizing Reports
- Adjust Metrics and Dimensions: Many reports allow you to modify which metrics and dimensions are displayed. Customize these settings to focus on the most important data for your needs.
- Save Custom Reports: If you frequently need the same custom report, consider saving it. This way, you can quickly access and export the customized data in the future.
|
Tips for Effective Data Export
|
2. Using Google Data Studio

Google Data Studio (now part of Looker Studio) is a powerful tool for creating custom reports and dashboards. It allows users to visualize and analyze data from various sources, including Google Analytics 4 (GA4). Using Data Studio to export GA4 data provides more flexibility and customization compared to the standard GA4 interface.
Here’s a detailed guide on how to export data from GA4 using Google Data Studio.
- Setting Up Google Data Studio
Before you can export GA4 data using Data Studio, you need to connect your GA4 property to Data Studio.
Create a New Report
- Open Data Studio: Go to Google Data Studio.
- Sign In: Use your Google account credentials to log in.
- Create a New Report: Click on the “+” button or select “Create” and then “Report” from the main dashboard. This will open a new, blank report canvas.
Add GA4 as a Data Source
- Add a Data Source: Click on the “Add Data” button, usually located in the toolbar or from the data source panel.
- Select Google Analytics: Choose “Google Analytics” from the list of available connectors.
- Authorize Access: If prompted, authorize Data Studio to access your Google Analytics account.
- Choose Your GA4 Property: Select the GA4 property you want to pull data from. You’ll see a list of properties and data streams available under your account.
- Add Data Source: Click on “Add” to include GA4 as a data source in your report.
- Designing Your Report
Once you have connected your GA4 data source to Data Studio, you can start designing your report.
Add Data to Your Report
- Add Charts and Tables: Use the “Add a Chart” button to include various types of visualizations in your report, such as time series charts, bar charts, tables, and pie charts.
- Customize Data: For each chart or table, use the “Data” tab to customize which metrics and dimensions are displayed. You can choose from GA4 metrics like sessions, users, and engagement, and dimensions like source/medium, page title, or geographic location.
- Apply Filters and Segments: Use filters to refine the data displayed in your report. For example, you can filter by date range, specific traffic sources, or user segments.
- Design Your Layout: Arrange and format your charts, tables, and other elements to create a visually appealing and informative report.
Save and Share Your Report - Save Your Report: Click on “File” and then “Save” to save your report. Give it a descriptive name to easily identify its content.
- Share Your Report: To share the report with others, click on the “Share” button. You can invite others via email, generate a shareable link, or adjust sharing settings to control access.
{{cta(‘168359013192′,’justifycenter’)}}
- Exporting Data from Google Data Studio
Once your report is designed and populated with data, you can export the data or the entire report.
Exporting the Entire Report
- Open Your Report: Ensure your report is fully designed and contains the data you want to export.
- Click on the “File” Menu: Located in the top left corner of the report interface.
- Select “Download”: Choose “Download” from the drop-down menu.
- Choose Export Format: You can export your report in PDF format by selecting “PDF.” This will generate a PDF document of the entire report.
- Configure Export Settings: Adjust settings like page size, orientation, and whether to include background images or page numbers.
- Download the PDF: Click “Download” to generate and save the PDF file to your computer.
Exporting Data to CSV
While Data Studio doesn’t directly export data to CSV, you can use the following method to extract data:
- View Data in Tables: Ensure that the data you want to export is displayed in a table chart within your report.
- Click on the Table: Click on the table containing the data you wish to export.
- Export Data: Click on the three-dot menu (often labeled “More options”) in the upper-right corner of the table chart.
- Select “Export Data”: Choose “Export data” from the menu options.
- Choose CSV Format: Select “CSV” as the export format. The data will be prepared and downloaded as a CSV file.
|
Tips for Effective Use of Data Studio
|
Conclusion
Exporting data from Google Analytics 4 can be accomplished through various methods, each catering to different needs and technical skill levels. Whether you need quick exports through the GA4 interface, detailed reports using Data Studio, programmatic access via the GA4 API, advanced analysis with BigQuery, or automated data handling with Google Sheets, there is a method to fit your requirements.
Leveraging these options effectively will enable you to gain deeper insights from your GA4 data and make informed decisions for your business.


